We may earn money or products from the companies mentioned in this post, but this does NOT cost you anything extra! Check out my full disclosure for more info.
For those of you who have seen the current setup of my 2013 Toyota Rav4.
This “short” post is for you if you are wondering what lights I have on my Rav4.
Look below to get the essential information.
Click here if you want more information about my external light setup.
Please let me know in the comments below if you have any further questions.
The Controller
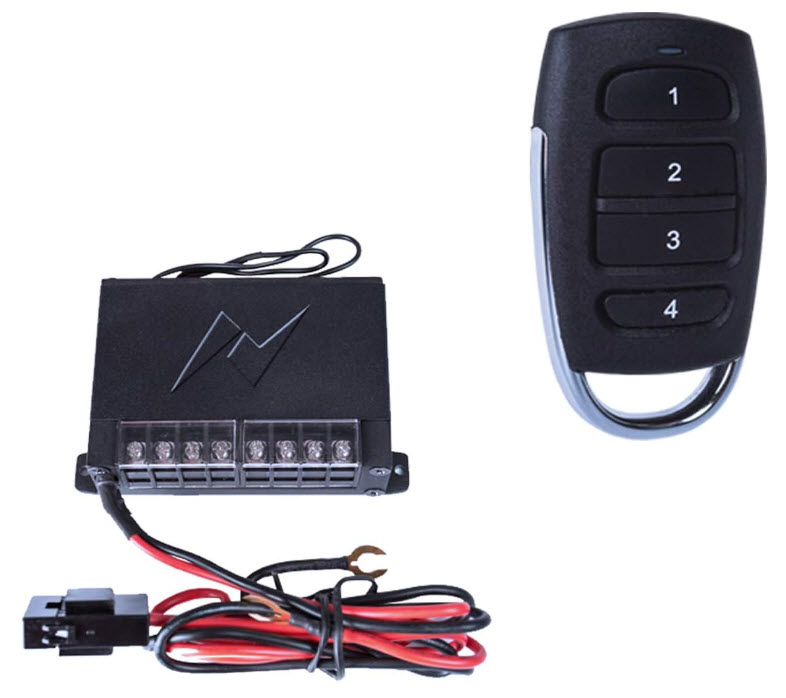
This controller, by AmeriLite, was a game-changer. It’s easy to install and has a remote. The best part, you don’t have to go through your firewall!
The Lights
Now the fun part the actual lights.
If you have been in the market, you may already know this, but finding the lights you want can take a ton of time.
Since I don’t know much about this stuff, I decided to go inexpensively. My idea is that I can upgrade later, assuming I like this setup.
Doing it this way will allow me the ability to see what I like and don’t like.
You might be wondering why not get the good stuff. But, like many of us, I have spent so much money on things I did not like.
I decided to put lights on all four sides of the Rav, and I can control them individually with the controller. As you will see, the lights that I have on the sides of the Rav came as a pair—they worked great!
The front lightbar
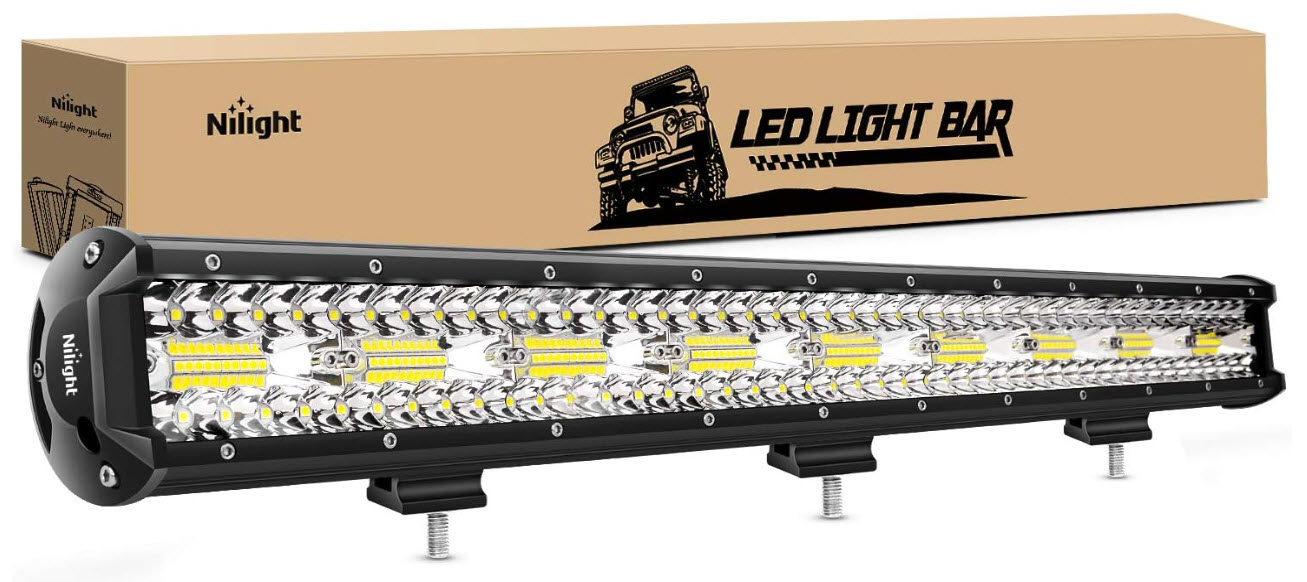
The front lights are a 26″ lightbar by Nilight. I found this to be cheaper but still got good reviews. I also knew I wanted the 26″ because my ultimate plan is to put these inside the Rav’s grill (currently, it’s on my roof).
The rear lightbar
The rear lights are a 14″ lightbar by Zmoon. After some research, I chose this little guy. It’s much smaller than the one above, but I like the single row of lights (similar to the three above).

The sidelights (aka ditch lights)
The sidelights I went with came in a pair. I found that most ditch lights do this. It worked out great.
I may make them proper ditch lights at some point, but for now, they are on the side of my Rav.
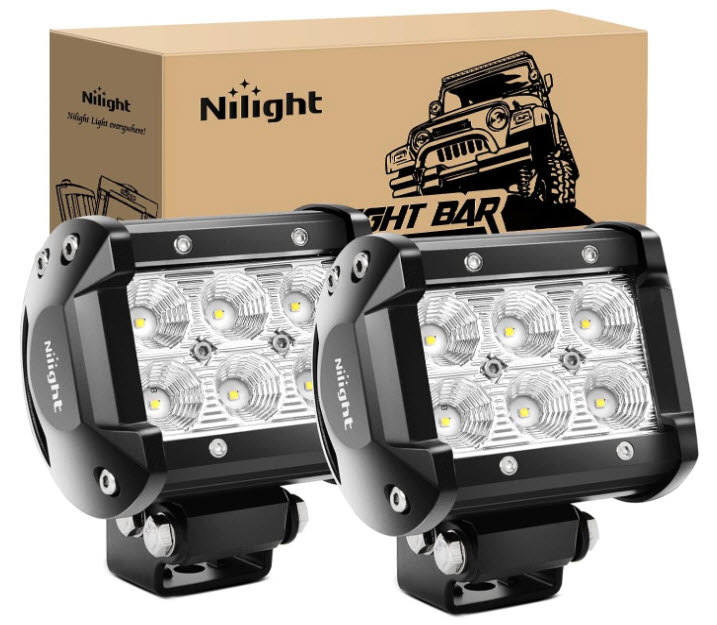
The ditch lights are called LED Pods by Nilight. For the price, they are surprisingly bright and fit perfectly in my Thule basket.

Final Thoughts
Well, there you have it. My idea was to keep this short and sweet. Remember to watch for my post that goes into more detail about this post.
Did this help you or give you an idea of a direction to go? Let me know!
I want to know about your lighting system.
That is if you have a setup on your vehicle. This is for everyone to see the different options. But also because I strongly feel that I will be upgrading this current setup in the next year or two.
And before you ask, yes, there are many options you can take for this. My main reason for this setup was cost and determining if it would be worth a more significant investment. I’ll go more into it in the longer post.
For now, if you have any questions, feel free to reach out or leave a comment below.


I have seen your lights and they are SUPER AWESOME!
It’s amazing to be in pitch black darkness, and then have the area light up as though it is daytime!
I cannot agree with you more! They are so awesome, and I’m so happy I finally just did it.