We may earn money or products from the companies mentioned in this post, but this does NOT cost you anything extra! Check out my full disclosure for more info.
I posted a “quick version“ of the current Rav4 auxiliary light setup.
This post goes into more detail on why I decided to purchase these lights.
If you are considering setting up extra lights on your vehicle, make sure you leave a comment below. I’m interested in seeing what others are considering and doing. After all, this is an easy set-up, and I’m sure I’ll be upgrading it sometime.
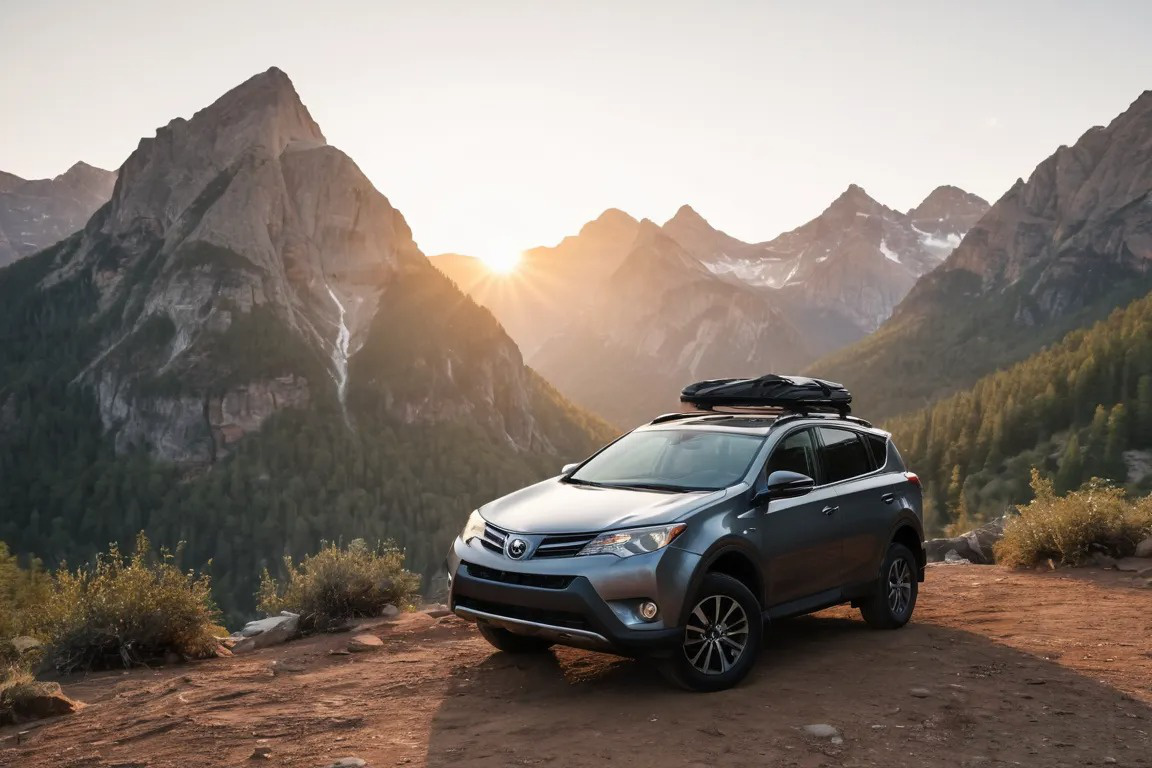
I took the Rav out to test the lights.
Below is the front lightbar only. It made a HUGE difference!

Below is the table of contents, which I hope will allow you to go to a specific area you are interested in.
Otherwise, feel free to read the whole post. Let’s get to it!
Deciding To Install Auxiliary Lights
If you spend any time camping on public lands, you soon realize how dark it gets. I found myself in quite a few tricky situations during my last road trip.
There were a few times I was looking for a campsite in complete darkness. This is not ideal when you are on narrow roads and one side is a cliff.
As for my Rav4, the white reverse lights are just not enough.
There have also been countless times I wanted something more than a flashlight taped to the top of my roof rack. Either to see what was going around my Rav (when I’m inside of it), hearing strange sounds, having to pee in the middle of the night, or even trying to find my Rav when I am coming back from a night hike.
When you start to look up lights online, you soon find how overwhelming it is.
There is so much information and options you might not know where to start.
Not only are there different types of lights, manufacturers, and set-ups. But you also have a wide range of prices for all of this.
Something we can all agree on is creating something that works but also doesn’t break the bank.
The Cost
Depending on what you are looking for, you can spend a TON of money on these lights.
I decided that cost was the most important for me, and possibly you too. My idea is that if I like them, I can upgrade the lights when I have the ability to.
As for what I purchased, which you will see below, the cost was very reasonable. But, first, I want to go into some things to consider.
The controller and lights cost $127.45
Other tools I needed cost $65.95
Total spent: $193.40!
Exterior light considerations – wiring and power
If you haven’t already figured it out, you must somehow get power to the lights.
This can be a little easier to accomplish if you have a house battery inside your vehicle. As for me, I don’t have that (yet).
My only solution was figuring out how to get the power of the light and have a switch inside the Rav.
As I’ve mentioned before, I’m not super handy. If you have ever attempted to go through your vehicle’s firewall, you will soon see it’s not as easy as you may think.
There are some solutions, like getting a Bluetooth rocker switch. These are neat!
They allow you to control whatever you have connected to them from your phone or their switch. They are extremely easy to set up and have many other cool features.
But then you look at the price! Dang!
I am pleased to say that I found a solution that provided me with exterior lights, wire, and a switch for less than that Bluetooth option!

My solution and current setup
After mentioning my switch dilemma to a friend, he suggested a true game-changer. You will really like that it’s an easy fix and will not break the bank.
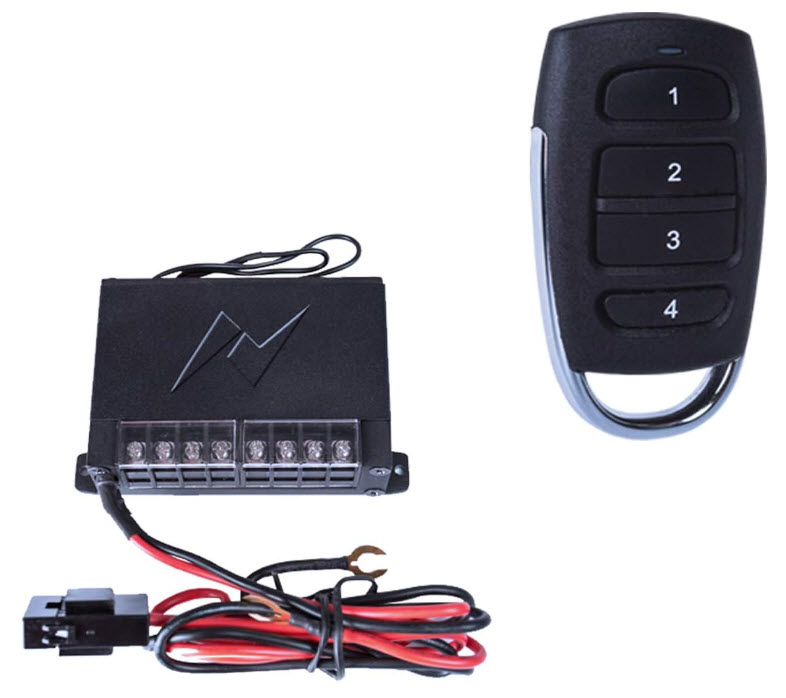
The solution was a simple remote switch, see below, with four channels. Perfect for having lights on each side of your vehicle!
Not only was it much more complicated than the Bluetooth option, but it was also effortless to install, and with the price, it allowed me to purchase my lights, too.
Let’s get to what I decided to purchase, and you will really like the remote, so I’ll cover that first.
Remote Control
As I mentioned above, the most important part of setting up exterior lights is figuring out how to get the switch into the cab of your vehicle.
My friend suggested looking into the AmeriLite, and as I said, GAME CHANGER!
This little thing is amazing and was exactly what I wanted. Best of all, there is no trying to figure out how to get wires through your vehicle’s firewall.
I mention this because the first switch I received didn’t work.
At first, my thought was to get my money back. But I decided to contact the company. They suggested exchanging the switch for another but would refund my money if I chose that instead.
Their customer service was responsive, and due to that, I decided to try one more time.
The best part was that I received the new switch in a few days!
I immediately tested the new switch out, and it worked perfectly!
The lights
You can get lost in finding the perfect lights forever. But again, I decided I wanted to see how bright I could get without breaking the bank.
After doing more research than I want to admit, I decided to try the lights I’m going to mention below.
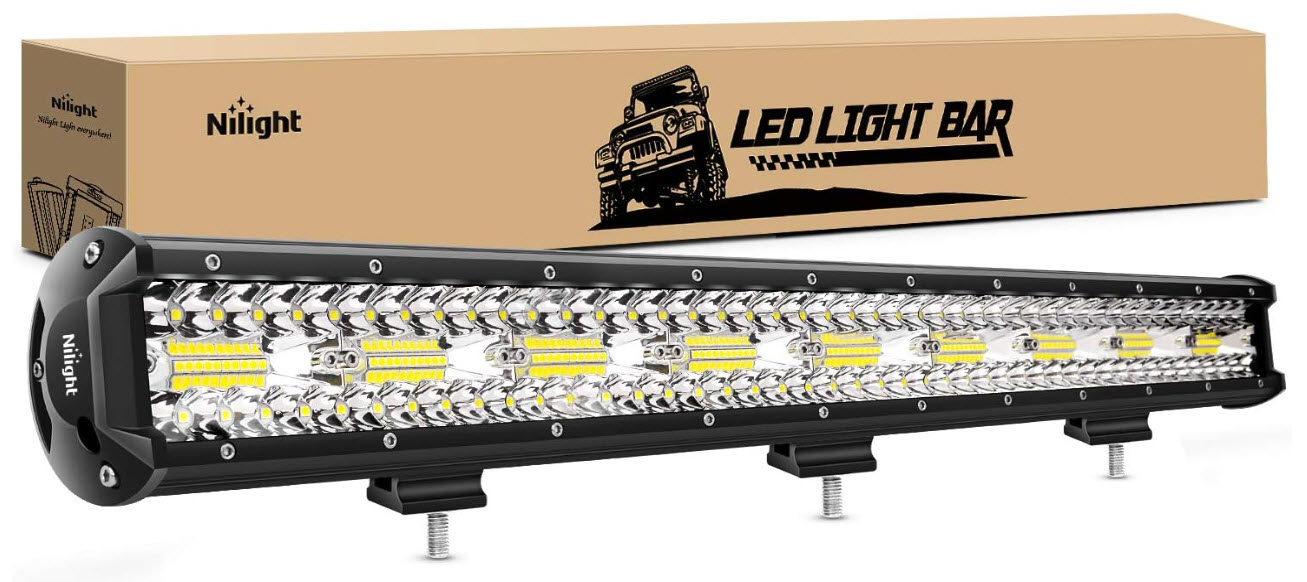
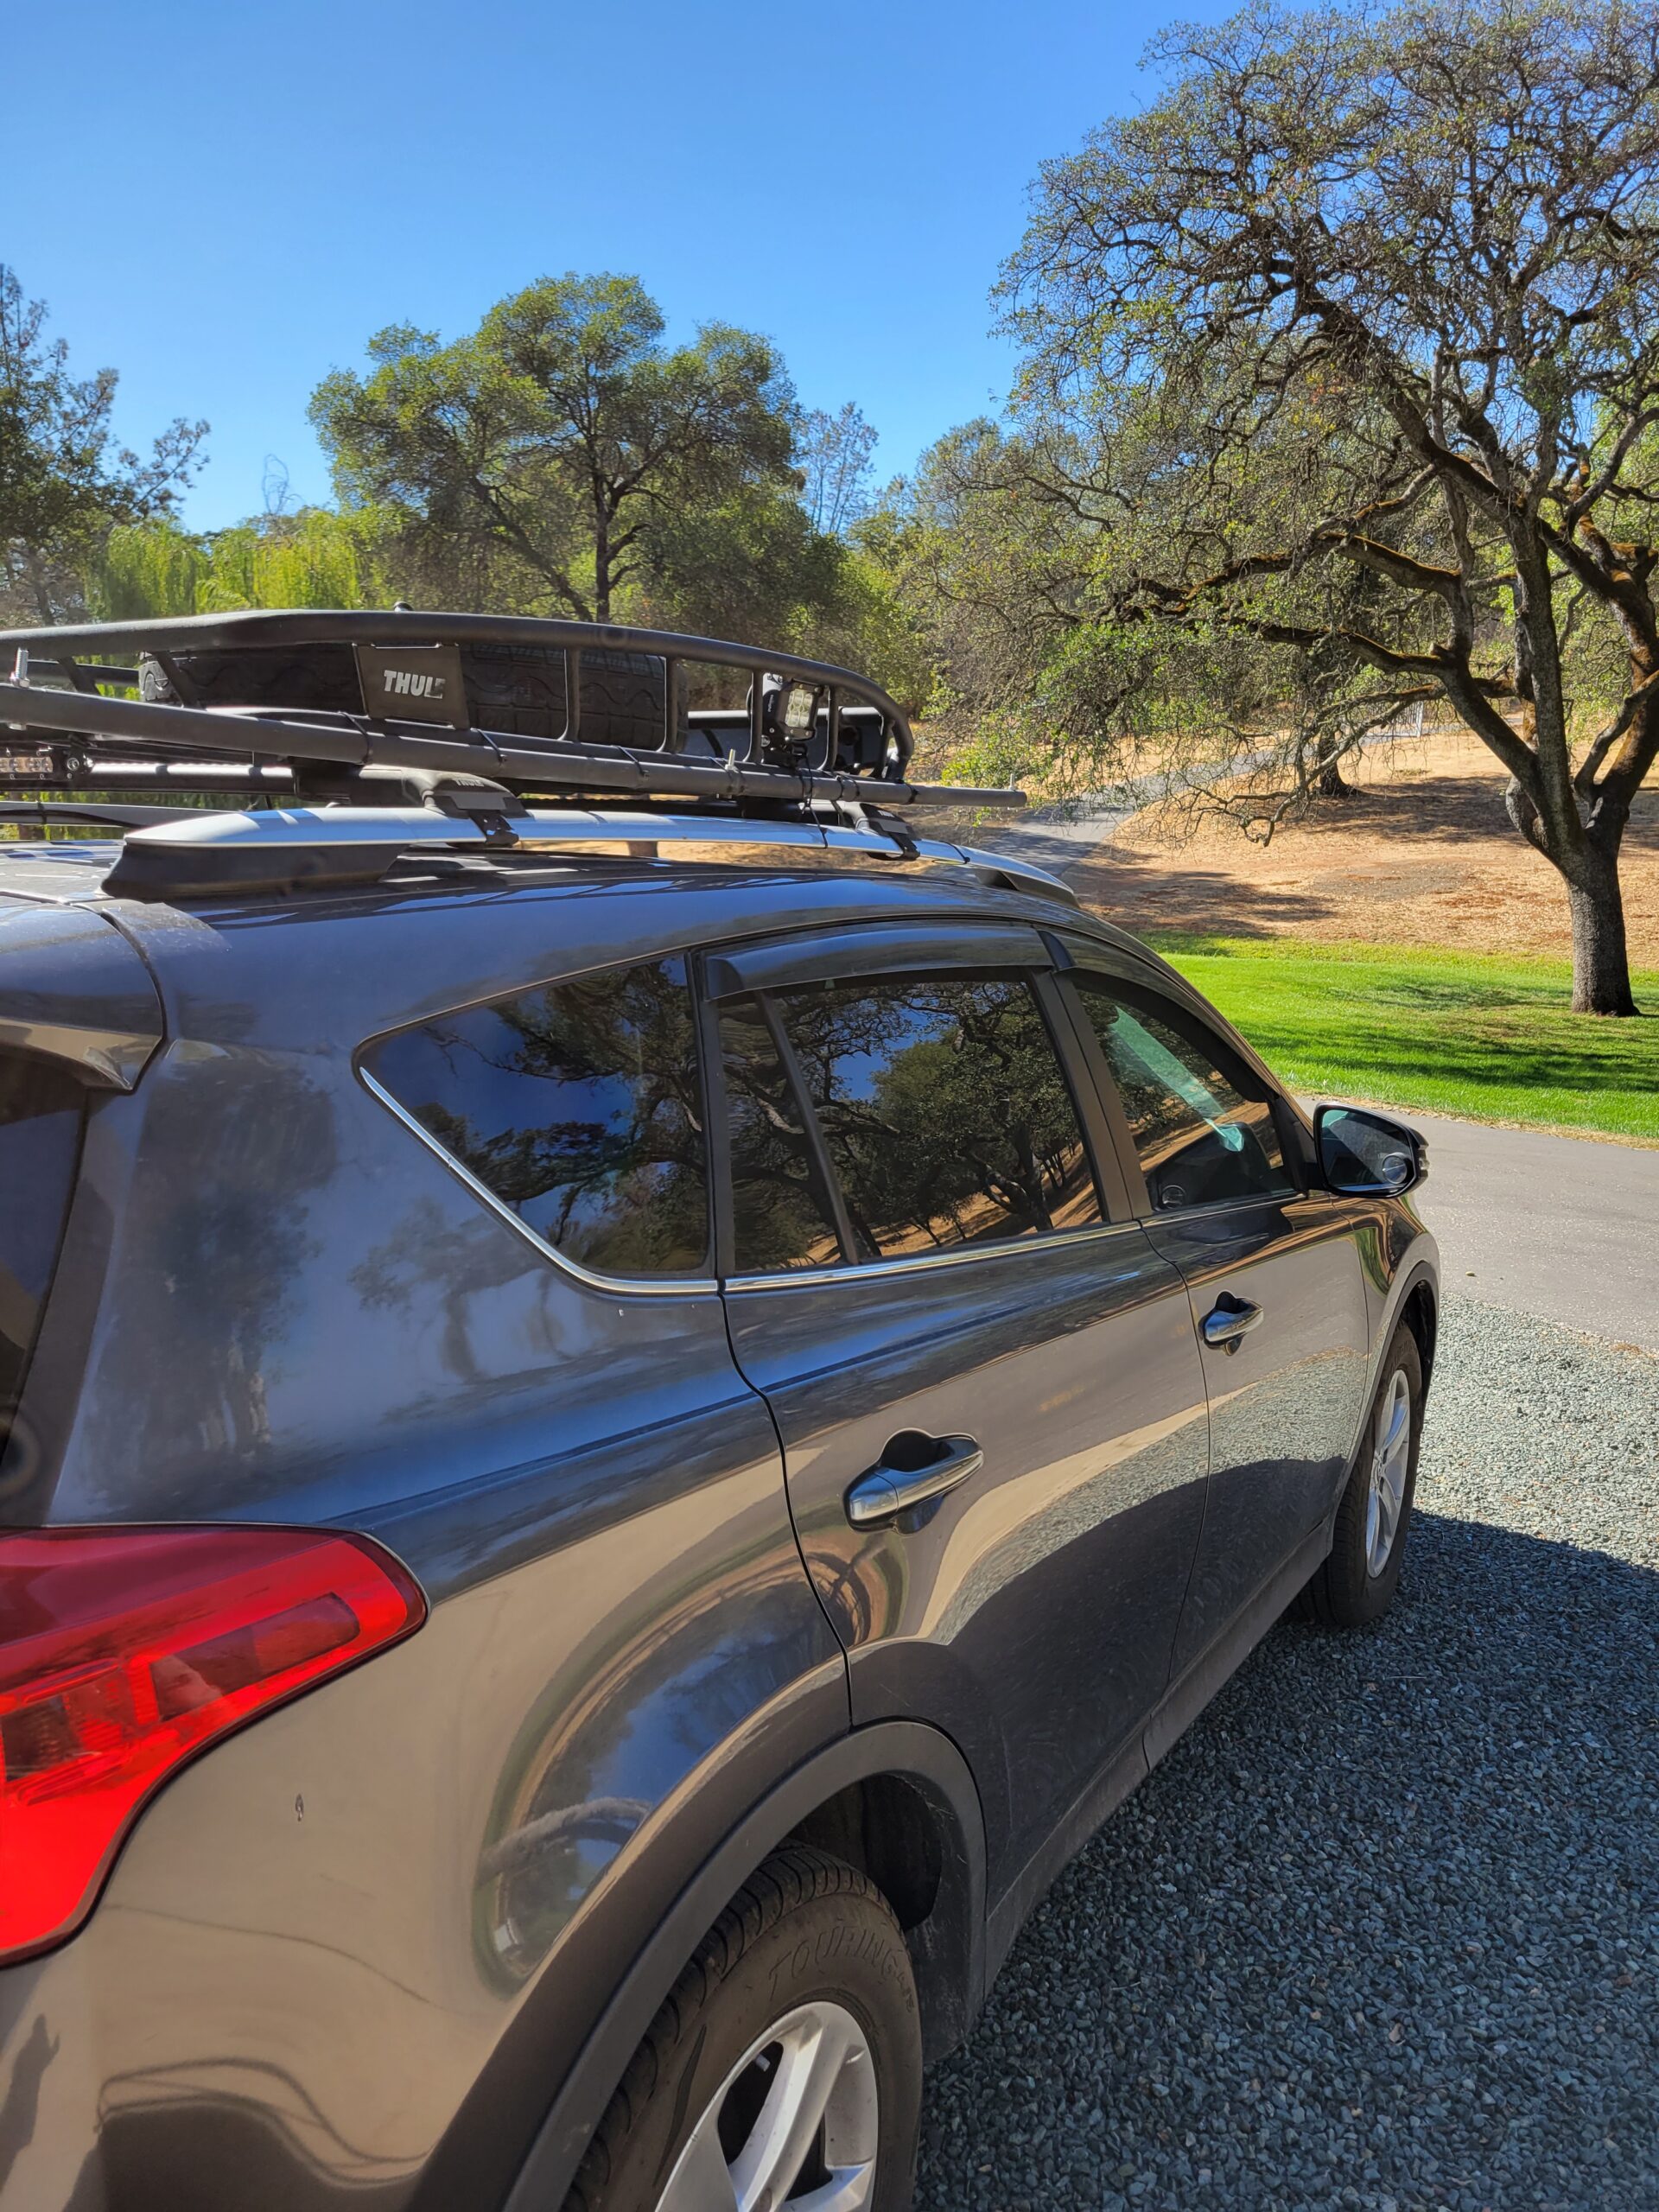
Quick side note, I would like to install the front 26″ lightbar inside the Rav’s grill in the future. For now, as well as all the other lights, are installed on my Thule Canyon basket.
The front lights are a 26″ lightbar by Nilight.
The rear lights are a 14″ lightbar by Zmoon.
Again, this is installed on the back of the Thule basket. It blends in very nicely and is surprisingly bright.

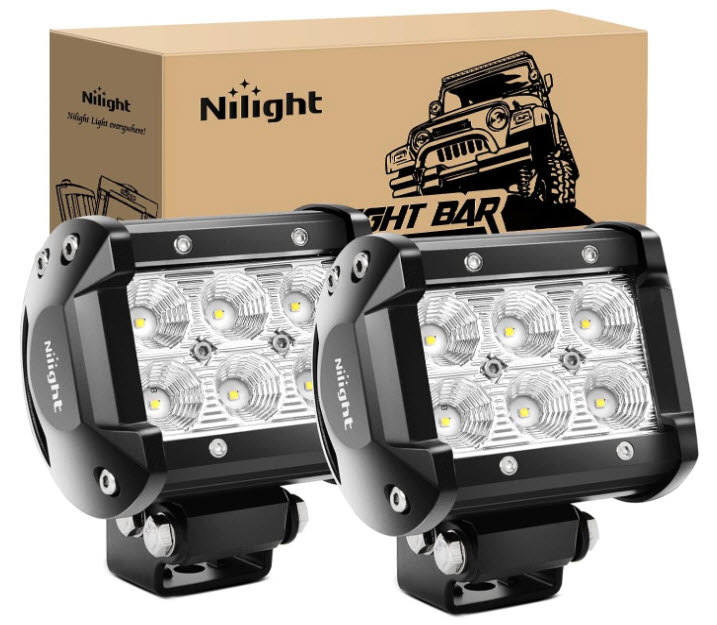
The ditch lights are called LED Pods by Nilight.
As most do, the sidelights (or ditch lights) I went with came in a pair. For my current setup, this worked out great. I may, at some point, make them proper ditch lights, but for now, they are on the side of my Rav.
I want to say this one more time, and I went with the above lights due to cost, good reviews, and size. This is also a great way to see if you actually like having auxiliary lights on your vehicle before spending hundreds of dollars.
And yes, the more expensive lights are brighter and smaller. But the lights listed above work great on the Thule rack and have been working great for what I use them for.
Tools and Equipment Needed
As with all projects, you need to have a few tools.
Below are all the tools I used for everything with this simple installation.
If you are a handy person, you might already have everything, or better yet, you might have a better way of installing than I do. My goal was to make it easy so that anyone could do it and be weatherproof.
- Dikes, aka wire cutters. Some wire strippers have cutters on them too.
- Wire strippers
- Shrink tubing, an easy way to not have to solder the wires together also adds some weather protection.
- Heat gun, easy way to shrink the tubing around wires. You can also use a hairdryer if it gets hot enough.
- Wire for connecting the light to the controller. I purchased 12 gauge wire, but I think 18 gauge would have been better.
- Zip ties were used to hold the wire on my Thule rack and inside the engine bay. I got strong ties for holding the lights to the rack but will mount them permanently once I know where I want them.
- Magnets, this is not needed, but I’m so happy that I got them. They are working great.
Setting Everything Up
Now that we have everything we need, it’s time to set everything up.
I will do my best to break everything down in the following steps. Feel free to skip this if you don’t need any help.
Something I suggest is to test everything out before you start zip-tieing everything.
For example, you cut the wire to your desired length, twist the wires together, use the shrink tubing, then connect the wire to the control box. Make sure all this works before mounting everything. You can thank me later.

- Test the lights
- Connect the lights to the controller (the lights have about 6″ of wire coming from them, all I did was connect them to the controller in the channel I wanted them). I did this to ensure each channel worked and my lights worked.
- Mount the light to the area you want on your vehicle.
- I decided, for now, to mount everything to my Thule basket.
- Use zip ties to keep the light in one area.
- This is optional, but it is very easy to move the lights around if you don’t like the look.
- Mount the control box where you want it.
- I used the velcro it came with and mounted it on top of the fuse box.
- Measure the wire you need.
- I took the spool of wire to get an estimated length.
- I then added about a foot of wire. This will allow plenty of extra if I need it.
- Cut and strip the wire with your wire strippers.
- Connect the wires.
- Go to the light and connect the wire to the correct polarity. Depending on the wire you get, make sure positive to positive or the red wire, and black or negative together.
- Add the shrink tubing before connecting the wires together. I forgot a few times. I used three total—one for each lead (positive and negative) and a larger one to secure both sections.
- Next, twist the wires together (from the light and the wire spool).
- This is a good time to test the connections too. Once you shrink the tubing, it’s tough to get it off.
- Use the heat gun to shrink the tubing on each wire.
- This is where having a larger piece of shrink tubing comes in handy. Use it to put the positive and negative together. This gives you a cleaner look too.
- Connect the wire to the controller.
- Make sure you know which light is going to the desired channel. I did this by connecting one light at a time.
- You will need to use a Phillips screwdriver. It’s pretty easy.
- Connect the controller to the battery.
- Very Important – make sure the red goes to positive and black goes to negative!
- Clean everything up.
- Run the wire where you want it to go.
- I ran it around the rack on my Rav, then down the front window.
- This took a bit of work as my original plan didn’t work, and where the magnets came in very handy.
Connecting the wires this way, as I found, is extremely easy. But, keep in mind, the lights are always hot. Meaning you can use the light when the car is off.
I did this because I want to use the lights when I need them. You might only like them when the vehicle is on. This is a personal preference.
If you set it up as I listed above, the only thing to remember is to disconnect the battery if you ever plan on leaving for a long time. This will help prevent the lights from turning on or slowly draining your battery.
What do you think about this setup?
If you have any other ideas, such as installing a “kill switch,” let me know in the comments below.
Do You Have Any Questions?
Having the external lights on the Rav has been a game-changer for me. I’m so happy I finally decided to do this.
After receiving all the items needed, hooking everything up didn’t take long. I will remind you I’m not very handy, so if I can do this, you can too!
There is still a little tweaking I want to do. I noticed the front light is pointed more down than I wanted.
This is another reason why having zip ties is worth it.
Do you have a lighting system on your vehicle?
Let me know, and share a picture. I really like to learn everything I can about this stuff.
And now that I have this setup, it’s only a matter of time before I upgrade it!